Delilah
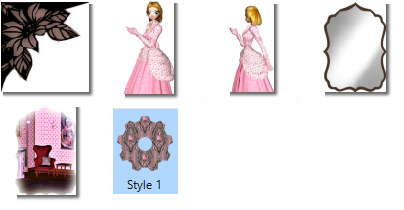
Filer i zippen:
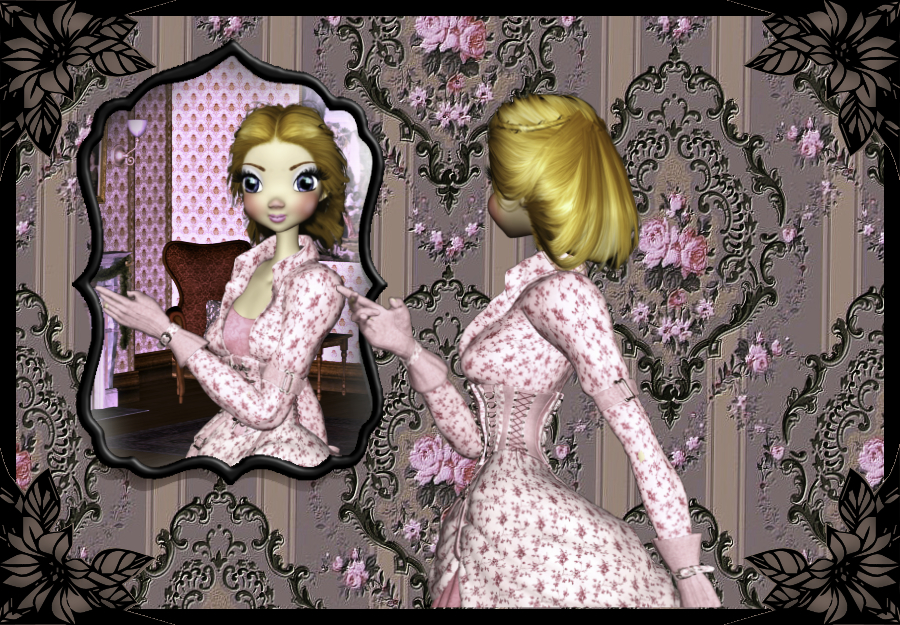
1. Create a new document ( Image ) 900 x 625 pixel
2. Take Shapes: Rectangel and lmake a rectangel around the image
3. Go to Stylespanel ( gradients): Mirror ... find styles: Mirror and and double click
4. Open the image spegl_jr that is in material ... go to layerpanel ... right click ... Copy
5. Go on your working image again ... in layerpanel: right click on the top layer ... Paste
6. Move the mirror in place with MoveTool
7. Take Flood Select Tool  ... settings like her, and press in the dark border at the mirror
 ... settings like her, and press in the dark border at the mirror
8. Create a new layer and fill the selection with black color ... let the selection stand
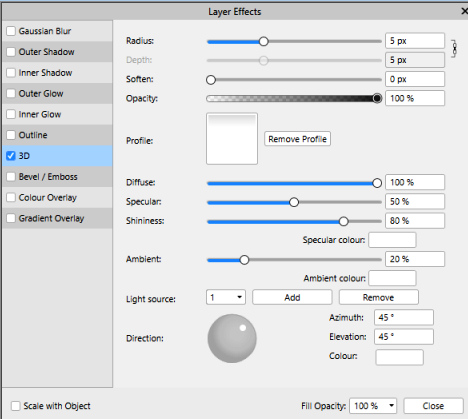
9. In Layerpanel bottom: ... press at fx: 

The Layer effects:
Enter checkmarks by 3D and press the 3D ... set options as here below and press Close:
10. Go up to Select ... Deselect
11. Open tube stue_jr .... Copy/Paste, like as point 4 and 5 ... sæt den på spejlet. I Layerpanelet:Move the layer
down under the layer with the Mirror.
12. Go to the layerpanel.... set the layer Opacity. 90
13. In the Layerpanel: press at the layer with the Mirror ... look at red dot here under:
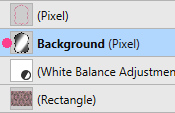
14. Take Selection Brush Tool ... settings like here under:

15. Run down over the Image up from the inside of the frame, and the frame at the bottom
Now should the Mirror be selected
16. Open tube Delilah1_jr .... Copy/Paste, like point 4 and 5
17. Move the lady to the mirror with moveTool ...look at my printscreen further down
18. I Layerpanelet press at the frame layer
19. Take Flood Select Tool  ... settings like point 7, and press in the middle of the frame
 ... settings like point 7, and press in the middle of the frame
20. Go up in Select .... invert pixel selection
21. In the Layerpanel ... press on the layer with the lady
22. Press delete on your keyboard,
Make her a little less with Move Tools, corner squares
23. Go op i Select ... Deselect.
Now would it like to look like this as here under:
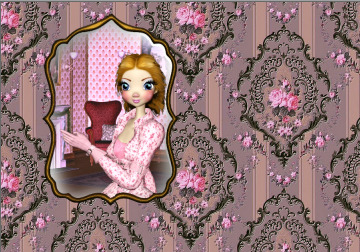
24. Open tube Delilah2_jr .... Copy/Paste like before ... Make her a little less with Move Tools, corner squares
25. Move the lady på plads ved siden af spejlet, med armen lidt ind i spejlet som du ser på mit færdige billede.
26. Select ... Select all
27. Open the file Corner1_jr ... Copy/Paste like before
28. Set the corner at the place with MoveTool, in the top left
29. In the Layerpanel ... rightclick ... Duplicate
30. Go up in Arrange ... Flip Horizontal ... move at the place in the top, right
31. In the Layerpanel ... rightclick ... Duplicate
32. Go up in Arrange ... Flip Vertical ... move at the place in the bottom, right
33. In the Layerpanel ... rightclick ... Duplicate
34. Go up in Arrange ... Flip Horizontal ... move at the place in the bottom, left
35. Go up in Select ... Outline ... settings like here ... press apply:

36. Create a new layer and fill the selection with black color
37. LayerpaneI in the bottom ... press at fx ... check in 3D same settings like number 9
38. Go up in Selections ... Select None
39. Write your name on your picture
Rehders-Design
©
