

Download the material here:

Before you begin, import the Styles category. If you do not know how to do,
then you can see it on the link below.
1. Create a new Document 950 x 550 pixels

7. Go to your work image ... right click on the image ... Paste
10. In the Layer panel ... right-click on the layer ... Merge Down
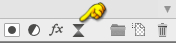
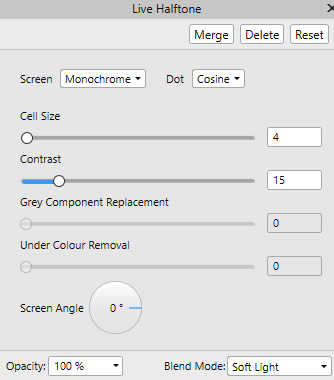
11. In the Bottom of the Layer panel tap Live, see yellow finger, and in what appears, press on Halftone:
12. This below appears ... set settings. Remember to set blend Mode to: Soft Light
for below, and press Merge
16. Transform : if it is not there, then go up in View ... press Studio ... find and tick in Transform
If you do not see Transform, look where the Layer panel is.
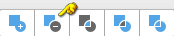
17. Layer panel ... select the top two layers and go up in Geometry above ... press subtract ... see yellow finger below:
Now you should see a frame on the picture
 in the bottom of Layer panel. Set tick in 3D, and in: Scale with Object
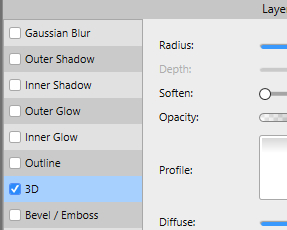
19. In the Layer panel ... press the bottom layer below the frame
21. Go to your work image ... Right click on the image ... Paste
Move it into place
23. Open the tube with the girl and Copy / Paste in the same way as before, and move in place
24. Open the tubes with the pigeons in the same way, and move in place
25. Layer panel: Set both pigeon layers to Blend: Hard Light
26. With the Move Tool ... move the tubes into place and adjust sizes as you like
27. In the Layer panel: select all tube layers ... right-click Group
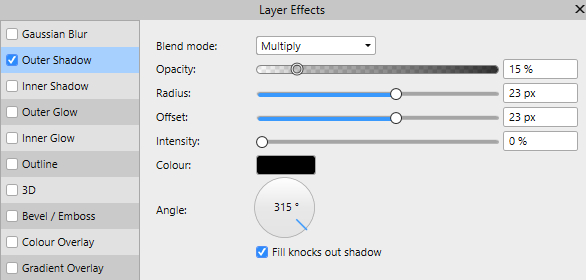
at the bottom of the Layer panel. Check in Outher Shadows ... settings as here below, and close