
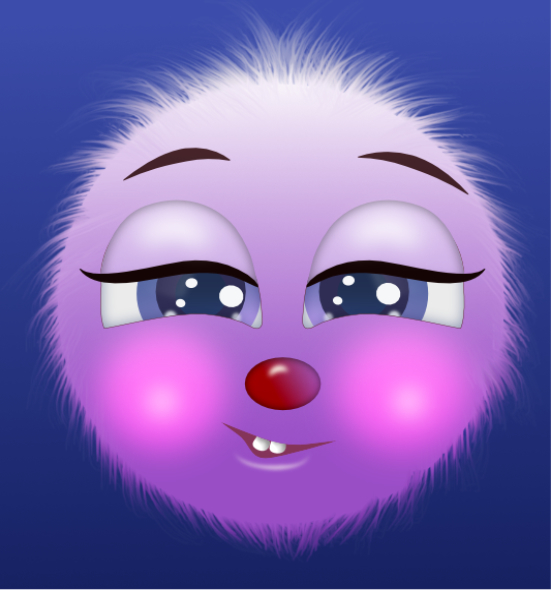
Fur Ball
Download the material here:

Before you begin: Import Styles and Brushes category
If you do not know how to import, then you can see it here:
http://rehders-design.dk/affi_import_brushes.html
http://rehders-design.dk/affi_importgradient.htm
If you do not have Transform in the panels, do the following:
Go up in View for above ... Studio ... tick Transform
Now Transform should be in the panel in the same place as the Layer panel or Color panel
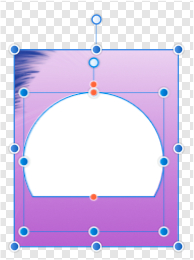
1. Create a new document 1000 X 1000 px
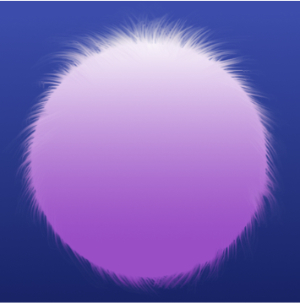
3. Styles panel ... Category: Fur_Ball ... Style: Background
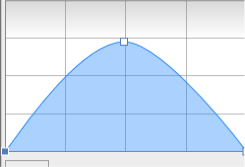
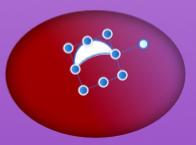
5. Go to Transform in the panel ... settings as below
![]()
Press return on your keystroke to exit
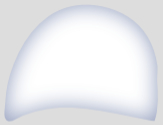
6. Styles panel ... Category: Fur_Ball ... Style: Ball
7. Layer panel: right-click on the Ellipse layer... Rasterise
8. Go up in Pixel Personas ... see red arrow below:
9. Go to Brushes panel ... Category: Fur_ball ... Ball
10. Contextbar on the top ... settings as here :

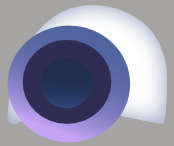
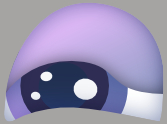
11. Pull from the edge and out all the way around. Mine now looks like this:
Eyes:
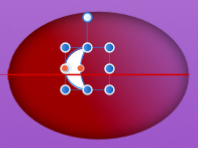
12. Shapes: Segment Tool : draw a Shapes as here below
Above ... press Convert to Curves:
13. Press a on your keystroke, this is the shortcut to the Node Tool
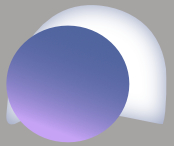
14. Style panel: Category ... Fur_Ball ... Eyewhite

15. Shapes: Ellipse Tool: make an ellipse
16. Gradient: Styles category: Fur_ball: ... Eye Iris ( see image to the left below )
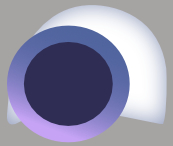
17. Ellipse Tool: drag an ellipse inside the other ellipse as you see in the image above right
18. Gradient: Style: Fur_Ball ... Pupil ... see the image above to the right
19. Create yet another Ellipse smaller than the other. Gradient: Style: Inner. See picture below to the left
20. Make 3 small white ellipses as below right

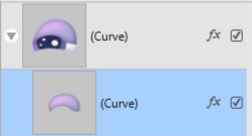
21. Select all Ellipse layers ... Press CTRL + G on your keystroke to group the layers into a group
22. Drag the Group layer down under the Segment layer ... release the mouse button on the right side of the layer's small image,
on the line between the layers. See red dot below:
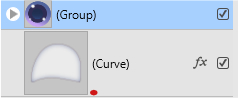
Now it looks like below. When you release the layer behind the image, it is put into the other layer,
and gets the same shape as the layer it is put into. The rest disappears
Mine looks like this:

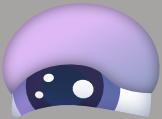
23. Shapes: Segment Tool ...drag a Shapes on the top of the eye
24. Above: Convert to Curve ... shape with Node. See picture below to the left
Gradient ... Styles: Fur_ball ... Eyelid

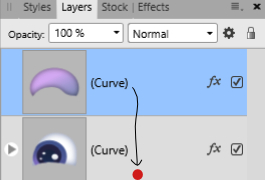
25. Layer panel: drag the layer down so that it sits like this at the bottom right
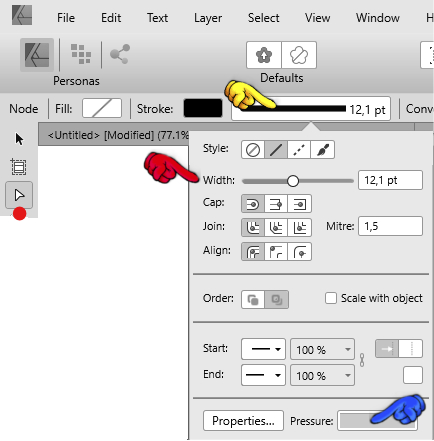
26. Node Tool: Go up in the Context line ... tpress the line ( see yellow finger below the text )
In what comes out: the width (red finger) ... the width is the thickness of the line, you change it as you like
28. Take and hold the corner and drag into the bottom
29. Press at the bottom in the middle ... a small square is formed .... pull it up like here
Mine looks like this
30.  Pencil Tool: draw a black line on the lower part of the eyelid
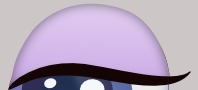
31. Go up in Layer ... Expand Stroke
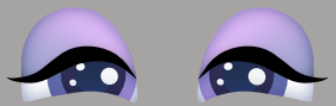
32. Select the layer with the eye and the layer with the eyelashes ... right-click ... Group
33. Layer panel ... right-click ... Duplicate
34. Press the Move Tool to activate it
Go upstairs press Flip Horizontal ... see the yellow finger below:

35. Pull your eyes into place

36. Select the 3 white ellipses on one eye ... right click ... Group
37. Go upstairs press Flip Horizontal as before
Now they would like to sit like this
Nose
38. Shapes: Ellipse Tool ... Make an ellipse like this, or like you thought:
Gradient: style Nose_red. The color will be different on another color Fur_Ball
39. Shapes Crecent Moon Tool
40. Move Tool turn the handle ... see the picture above to the right
41. Layer panel in the bottom : press on fx
42. Set check in Gausian Blur ... Radius: 3 ... tick in Scale with object
43. Pencil Tool: tegn en mund som nr 1 her under_
44. Rounded rectangel Tool: make an Shape to a toth .. turn it with Move Tool see no 3 below the text
Style panel ... Category Fur_Ball ... Style:Toth

45. Layer panel ... right-click ... Duplicate
46. Move the toths at the place with Move Tool
47. Shape Ellipse Tool ... make an Ellipse to a cheek
Layer panel: right-click ... Duplicate and move at the place in the other side
Look at my finished picture
Now you can put a little life into the Fur Ball if you like ... you do it with white color and small ellipses or lines
and use Gausian Blur
Back