

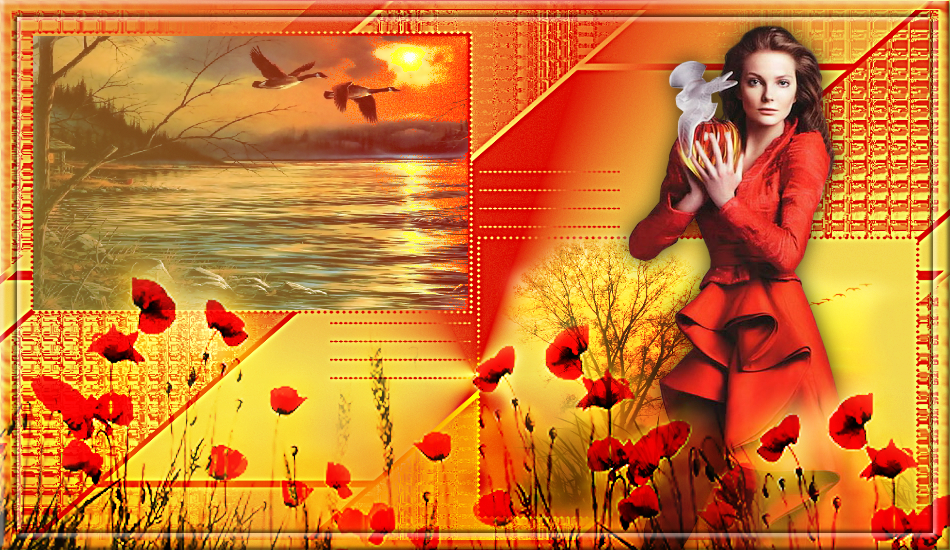

The files in the material are the ones you see below
1. Create a new image 950 X 550 pixels ... the image I call work image
2. Create a new Pixel layer
3. Flood Fill Tool ... set colour: fad459 and fill the image
4. Shapes Rectangel Tool ... Make a Rectangle about the image
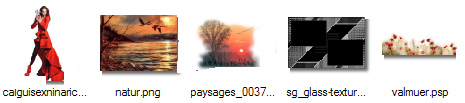
5. Go to Styles Panelet... Category: Poppys ... choose Style 1
6. In the Layer panel ... right click on the layer ... Duplicate
7. Go to the Styles Panel ... Category: Poppys ... choose Style 2
8. In the Layer panel ... right click ... Rasterise
9. Open the file: sg_glass-texture-frame ... right-click the image ... Copy
10. Go back to your work image ... right click it ... Paste
11. In the Layer panel ... right click ... Rasterise two mask
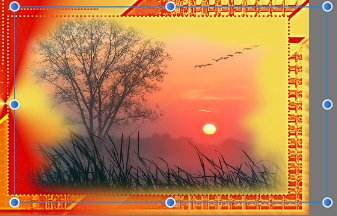
12. In the Layer panel ... right-click ... Merge Down ... now it looks like this:
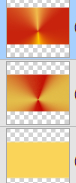
14. Layer panel at bottom: press Live ... see red marking. 
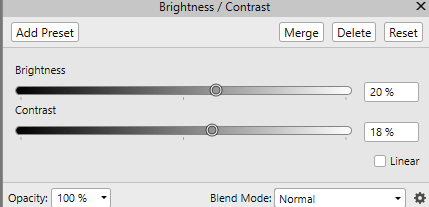
Filters ... Sharpen ... Unsharp Mask ... set the settings below and press Merge

Set the setting below and press Merge:
16. Layer panel ... right click ... Duplicate
17. Layer panel ... set layer Blend; soft light and Opacity 50
18. Layer panel ... right click ... Merge down
Now it looks like this:

19. Open the tube: paysages_0037_lisat ... right-click the image ... Copy
20. Go back to your work image ... right click it ... Paste
21. Move Tool ... adjust the image to the bottom right corner
22. In the layer panel ... set the layer Blend Mode ... Hardlight
23. Open the tube: nature ... right click on the image ... Copy
24. Go back to your work image ... right click ... Paste
25. With Move Tool push, and pull the corner and set on the place
26. In the layer panel ... set the layer to Blend Mode: Color Dodge
27. In the layer panel ... right-click ... Duplicate
28. In the layer panel ... set the layer to Blend: Darker Color ... set the layer Opacity to 80
29. In the layer panel ... right-click ... Merge Visible
30. Open the tube: with the lady ... right click on the image ... Copy
31. Go back to your work picture ... right click it ... Paste
Put the tube in the placePut the tube in the place
32. Layer panel in the bottom: press on fx: 
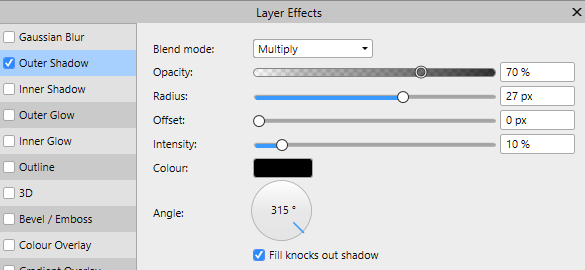
33. Insert the Opacity 98 layer
34. Open the tube: with the flowers ... right click on the image ... Copy
35. Go back to your work image ... right click it ... Paste
put the tube in place
36. In the layer palette ... set the layer to Blend Mode: Hardlight
37. In the layer palette ... ... right click .... Duplicate
38. Add the new layer to Blend: Softlight
39. In the layer panel ... right-click ... Merge Visible
40. Put your name in the picture
41. Go up the Select ... Select all
42. Select .... Outline ... Radius 35 pixels ... Press Apply
43. Layer panel ... right click on layer ... Copy
44. Layer panel ... right click on layer ... Paste
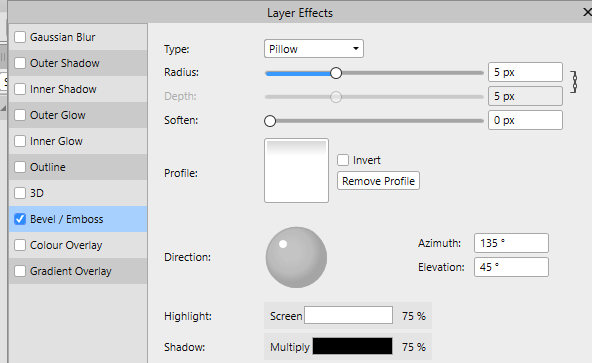
45. Layer panel in bottom: press on fx:
46. Go up in Select ... Deselect
47. Layer panel ... right click on the layer ... Merge down
48. Save your picture