

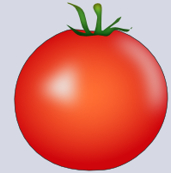
2. Shapes ... Ellipse Tool: make an ellipse the size you want your tomato

3. At the top of the Context bar: Convert to Curves:

Zoom in so you can better see what you are doing
 ... Tap each side of the ball at the top of the Ellipse to create new balls
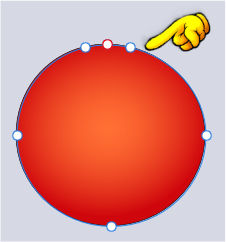
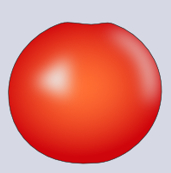
6. Press the center ball and press it down slightly. See picture below the text
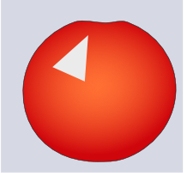
8. Shapes: Crecent Tool ... Make a crecent as you see below right on the ellipse
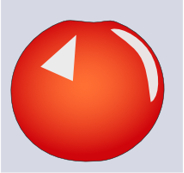
10. In what comes out: tick Gausian blur and tick Scale with Object.
Set Radius as you thought it would look best. The larger the triangle the larger the Radius you will need

 ... draw the leave in the top on the tomato.
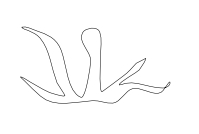
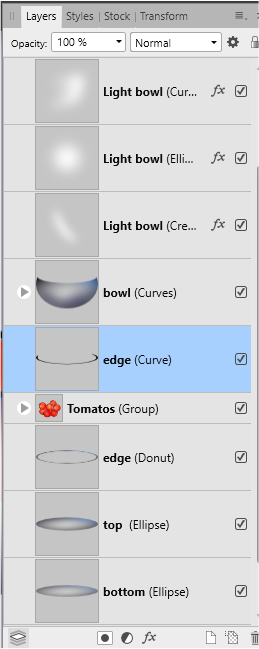
13. Select all layers with the tomato, light and leaves ... right click ... Group
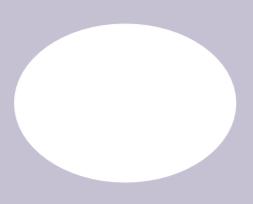
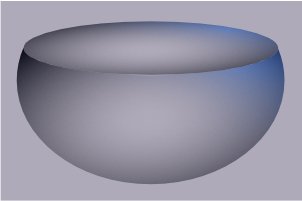
1. Shapes ... Ellipse Tool: make an ellipse as you see below:
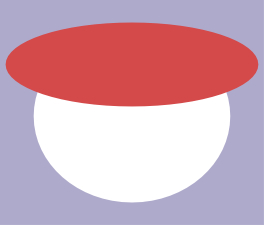
3. Ellipse Tool. Make a new Ellipse at the top of the other, with a different color
Duplicate the layer, and close the layer
4. In the Layer panel: select one red Ellipse layers, and the bowl

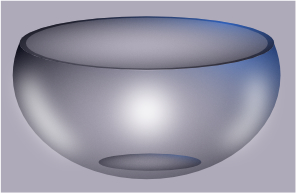
mine looks like this:

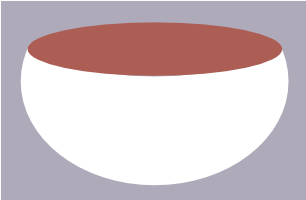
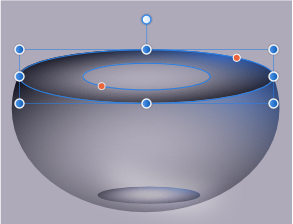
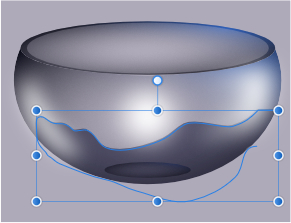
6.Open the closed ellipse layer, and select it below and customize it with MoveTool: Like here below
8. Layer panel: Select the layer below the closed layer and the layer with the bowl
10. Open the closed layer again
11. In the Layer panel: Select both ellipse layers

15. Pull the layer down under the layer with the bowl
16. In the Layer panel: tap the layer with the large ellipse at the top ... right click ... Duplicate
In what appears in the Context bar: set Hole Radius to 95
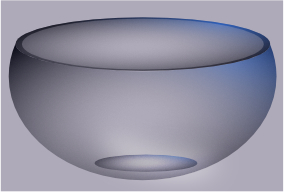
Mine looks like this:

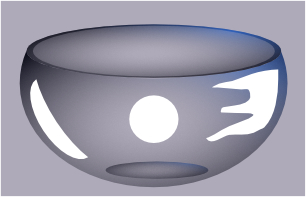
18. Pencil Tool: draw light on the bowl with white paint, or use Shapes
I have used a Crecent and an Ellipse. The last one I drew
19. Press fx at the bottom of the Layer panel ... tick Gausian Blur set radius until it looks good
Remember to tick the scale with Object. Do it on all light layers for the bowl
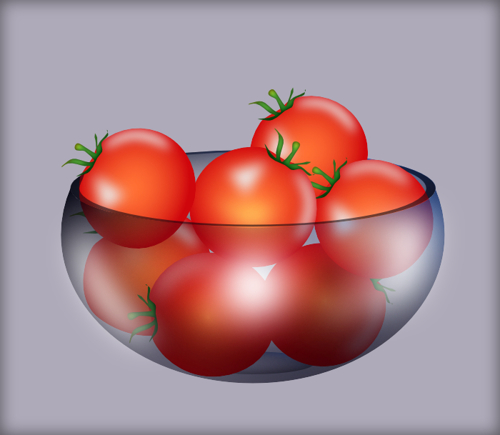
Now it looks like this and you can put your tomatoes on the bowl
21. In the Layer panel: drag the layer down below the bowl ... release the mouse button on the
right side of the layer's small image, on the line between the layers.
Set the layer to Blend: Multiply
22. Press at the bottom of the Layer panel: fx ... tick Gausian Blur set radius until it looks good
Remember to tick the scale with Object.
23. Layer panel: press at the Donut layer ... right-click ... Duplicate
24. Pencil Tool: Draw on the top part where the tomatoes are ... tap a color in the color panel

25. In the Layer panel: select the Donut layer and your drawn layer
26. Context bar: Geometry ... tap Substract

27. In the Layer panel: move the layers into place as here below: