
The dome
The material can be downloaded here: 
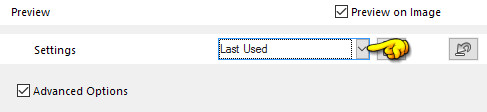
Presets Presets must in directory: Documents \ Corel Paint Shop Pro \ 17.0 \ Presets
Selections The selection should be in the folder: Documents \ Corel Paint Shop Pro \ 17.0 \ Selections
In older psp will find folders in My Documents \ My PSP Files
These files below are the material + 2 presets, one for the older PSP and one for the new
I materialet er også 1 selection : In the material selection is also 1:
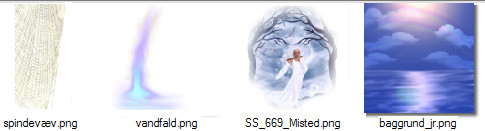
Open the tubes in Paint Shop Pro
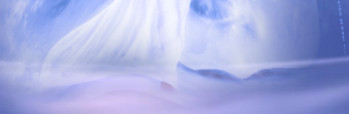
1.Open Output Expander the supplied light from the material. This image we call your work picture
2. Go into Effect ... Geometric Effect ... Spherize ... set strenght to 100
3. Open the tube: SS_669_Misted ... Right in the bar at the top of the tube ... press Copy in what appears
4. Go over your working image ... Right in the bar at the top ... press Paste as new layer
Move the tube into place at the top of the Spherizen
7. Take warpbrush Tool: 7. Take warpbrush Tool:  ... sæt indstillinger som her under, og tryk ok ... Set of options as below and press ok
... sæt indstillinger som her under, og tryk ok ... Set of options as below and press ok 
8. Take hold of the bottom of the dress and pull down so that it lies under the edge of the dome bowl.
Be careful that you do not get pulled to the sides.
99. Go up to Selections ... Load / Save Selection ... Load Selection From Disk ... Find selectionen: The dress
Set settings as below and press ok:
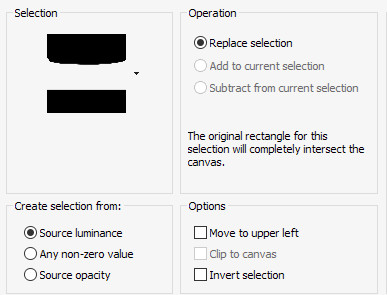
10. Press Delete on the keyboard
11. Go up to Selections ... Select None
12. Open the tube with spider web ... Right click in the bar at the top of the tube ... press Copy in what appears
13. Go over your working image ... Right click in the bar at the top ... press Paste as new layer
14. Move up and out to the left, beyond the edge of the picture, both at the top and the side
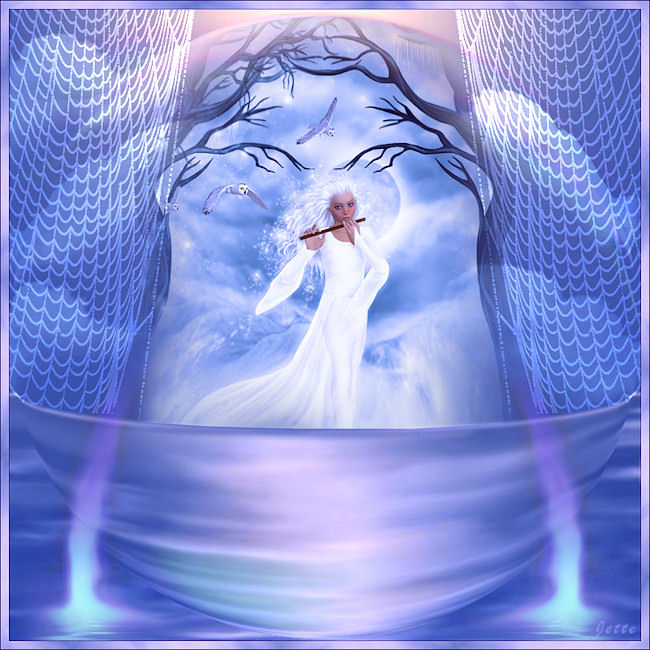
Look at my finish picture.
15. Go to Layer Palette ... set layer Blend Mode: Dodge
16. Stay in the Layer Palette ... set the layer Opacity about 35
17. In the layer palette ... Right-click the layer ... Duplicate
18. Go up in Image ... Mirror ... Mirror Horizontal (in older psp: Image ... Mirror)
19. Open the tube with the small waterfall ... Right in the bar at the top of the tube ... press Copy in what
appears
20. Go over your working image ... Right in the bar at the top ... press Paste as new layer ... move
tube in place on the left side
21. In the layer palette ... Right-click the layer ... Duplicate
22. Go up in Image ... Mirror ... Mirror Horizontal
23. Go to Layer Palette ... Right-click the layer ... Merge Visible
24. Resize if you think your image is too large
My finish image is 650 x 650 pixels
25. Sæt navn på dit billede 25. Insert the name of your image
26. Go up in Image ... Add Borders ... 1 pixel ... choose a dark purple color ... notch in symmetric
27. Go up in Image ... Add Borders 10 pixels select a light purple color from the image
28. Take Magic wand ... set of options and press in the light purple table

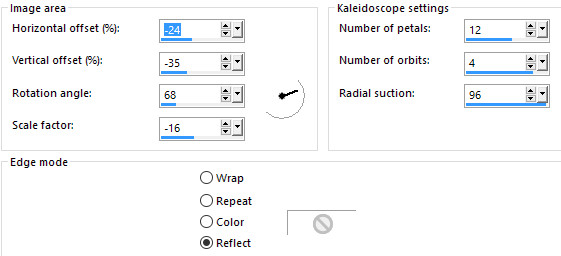
29. Go up to Effects ... Reflections Effects ... Kaleidoscope ... set of options as below and press ok:
30. Go up to Selections ... Select None
31. Go up in Image ... Add Borders ... dark purple color ... 1 pixel
Rehders-Design
©