
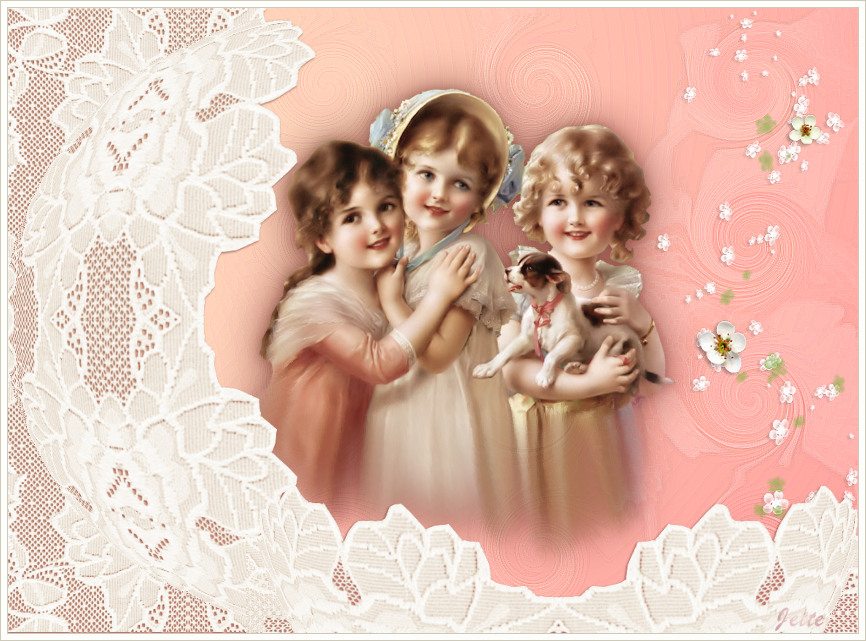
Nostalgi

Files in the Material :
1. Open arbejdsbillede (working Image) from the materials
2. Go to Effects ... Distortion Effects ... Pinch ... Strength 50 and press ok
3. Go to Effects ... Edge Effects ... Erode
4. Go to Effects ... Distortion Effects ... Curlicues ... settings like here and press ok:

5. Go to Effects ... Edge Effects ... Enchange more
6. Go to Adjust ... brightness and contrast ... Brightness/Contrast ... settings like here, and press ok:

7. Go to Adjust ... Sharpness ... Sharpen
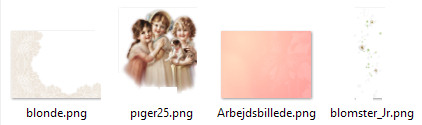
8. Open the tubes with the girls ... Right click in the bar at the top of the tube ... press Copy in what appears
9. Go to your working image ... Right click in the bar at the top of the tube ... press: Paste as new layer
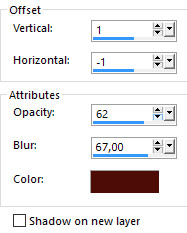
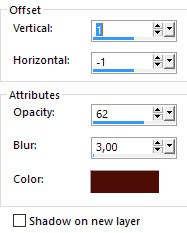
10. Go to Effects ... 3D Effects ... Drop Shadows ... settings like here, and press ok:
Color: # 4d0f07
11. Open the tube with the flowers ... Right in the bar at the top of the tube ... press Copy in what appears
12. Go to your working image ... Right click in the bar at the top ... press: Paste as new layer
13. Open the tube with lace in the same way as in 11 - 12
14. Go to Effects ... 3D Effects ... Drop Shadows ... Settings are from before
Change the number in Blur to 3.00 and press ok:
Change the number in Blur to 3.00 and press ok:
15. Move the tubes in place if they are not
16. Put your name on the picture
17. Go to Image ... Add Borders ... change the number to 1 ... check in Symmetric ... use a grey color
18. Go to Add Borders again ... change to 6 ... white color
19. Go to Add Borders again ... change to 1 ... grey color
Rehders-Design
©