
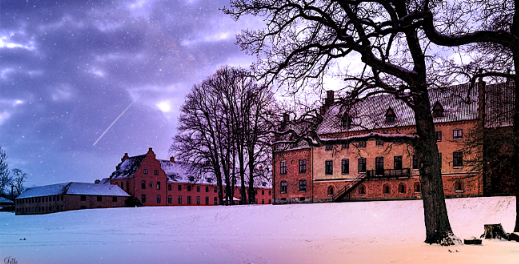
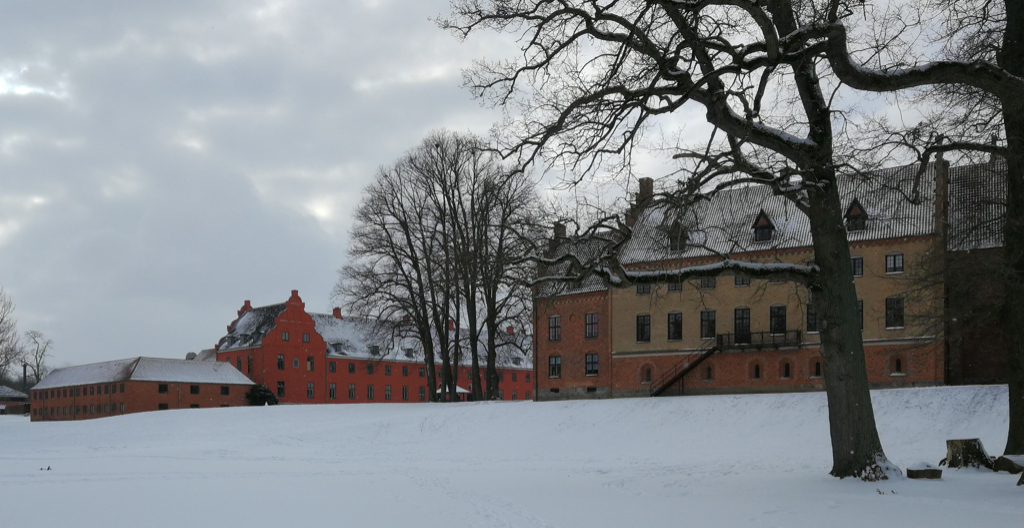
You can download picture here:
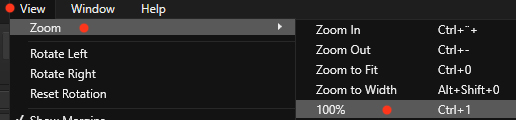
Start by zooming it 100%. You do this in View: look at the red dot

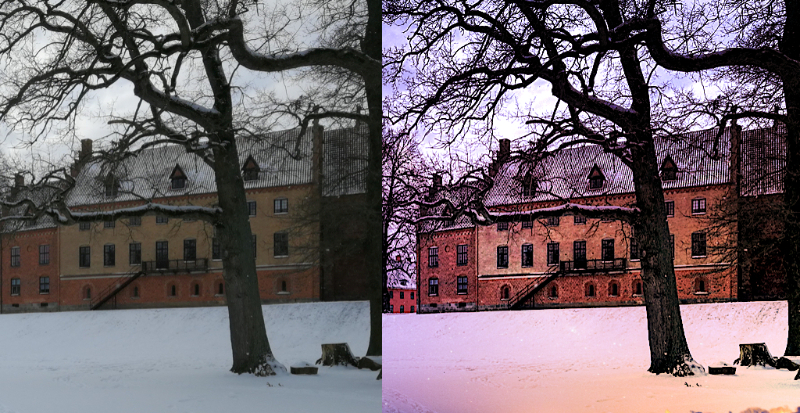
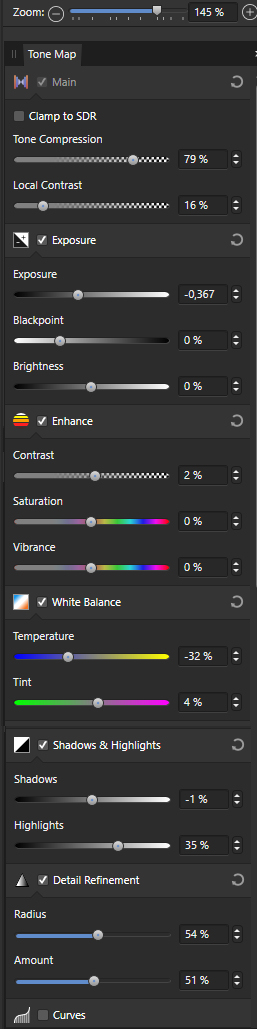
Set settings as you like, or use mine as here under on screen:
If you use a different image, these settings may not be correct.
You can also use the preset that is located on the left side. Be careful not to exaggerate the effects
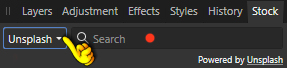
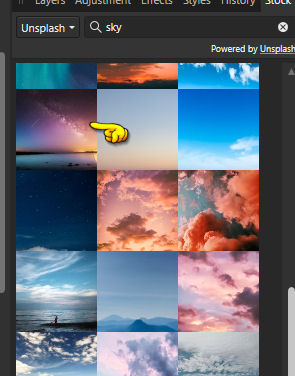
Go up in View studio ... set check in stock if you not can see it in the panel
Stock is now in the panel... ... press on Stock
Select Unsplash... is now in the panel so press on the small triangle... See Yellow finger
You can choose another if you want it
Grab the picture and drag it onto your photo. Do not release the mouse button too fast
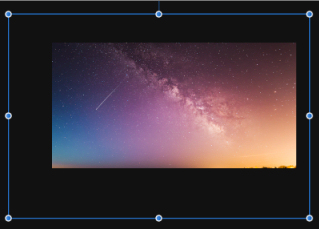
Zoom out so you can see the marking when you stay on the layer
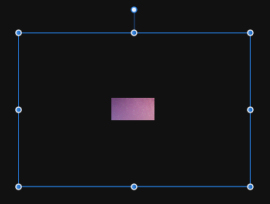
Move Tool: push the image into all edges. Once done, you can zoom back in to 100% again
Now it looks like this
I have chosen to push my marking as here