
Blending
The material can be downloaded here: 
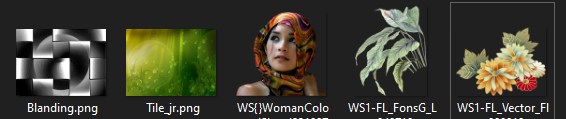
These files below are in the material:
 + to gradients
1. Create a new document 850 X 625 pixels
2. Take Flood Fill Tool... fill the image with black color
3.Shapes Rectangel ... make a rectangel about your image
4. Go to Styles ... Category Blend ... Styles: Background
5. In the Layer panel ... Right-click... Rasterise
6. Open the file: Blanding ... right-click the picture... Copy
7. Go back on your work picture... right-click it ... Paste
8. In the Layer panel ... Right-click... Rasterise to mask
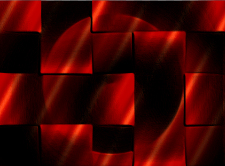
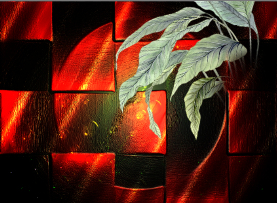
9. In the Layer panel ... Right-click... Merge down ... now it looks like this:
10. In the Layer panel ... Right-click... Merge Visible
11. In the Layer panel in bottom ... Live Filters ... see red arrow her: ... choose Lighting
... choose LightingSæt indstillinger som her under: Husk at ændre Type til Point
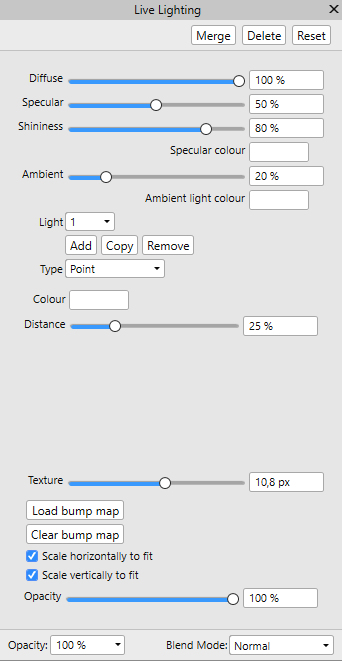
12.Press Merge
13. Open the image Tile_jr ... right-click it... Copy
14. Go back on your work picture... right-click it ... Paste
15. Go to the layer panel ... blend mode set for Reflect
16th Stay in the Layer panel ... Right-click... Merge Down
17. Open the tube: WS1-FL_FonsG_Leaves040710.... right-click it... Copy
18. Go to your work picture ... Right-click it... Paste
19. Move the leaves into place as below:
20. Take Erase Brush Tool, and erase some of the stems

21. Go to layer panel ... set Blend Mode to Hard Light
22. Stay in the Layer panel ... Right-click... Duplicate ... Now you have two layers of leaves
23. Tryk på Move Tool ... gå op i Arrange ... Flip Horizontal
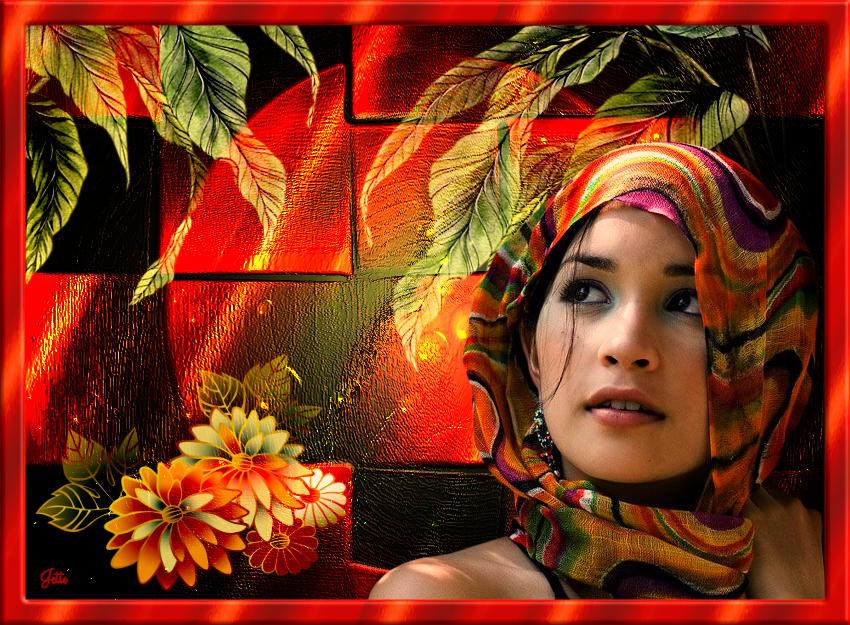
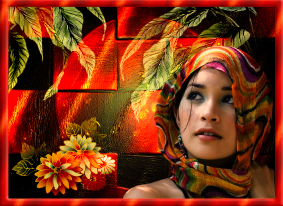
24. Move the leaves into place in the upper left corner ... look at my finished picture
25. Open the tube: WS1-FL_Vector_Flowers090810... Right-click the tube...Copy
26. Go to your work picture ... Right-click... Paste
27. Move Tool ... Customize the flower with move tool by pushing the small boxes in the corners, towards the center
28. Move the flowers into place in the lower left corner
29. Go in the layer panel ... set Blend mode for Hard Light
30. Put the tube with the lady in the picture in the same way as before
31. Move her into place
32. Go to the layer panel ... right-click the layer with the lady ... Duplicate
33. Stay in the layer palette ... set Blend mode for Soft Light ... Set the layer opacity 25
34. In the Layer panel ... Right-click... Merge Down
35. Check that all other tubes are in their place
36. Shape Rectangel: Make a rectangel about your image
37. Go to Styles ... Category Blend ... Frame
38. In the Layer panel ... Right-click... Duplicate
39. Transform: if you do not have transform promotion, in the line by the Layer panel then do such:
40. Go up in View ... Studio... notch by Transform ... set of settings as below:
You won't see any difference now, but that's how it should be
41. In the Layer panel ... mark the top two layers
42. On top of Geometry ... press Substract
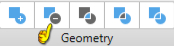
Now it looks like this:
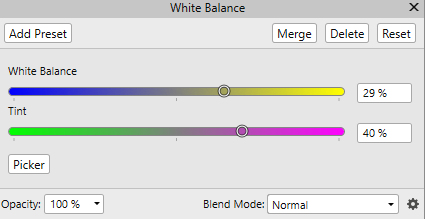
44. In Layer panel, in the bottom ... press on Adjust:
White Balance
45. Write your name on the picture
46. Go up in File ... Export to jpg
Rehders-Design
©