


Fascination
Du kan hente materialet 
Open the tubes in Affinity Photo ... Preset and Selections
must be saved until it says you need to open them
1. Create an image 800 x 625px
2. Create a new layer
3. Flood Fill Tool: Fill with this color 53200d
4. In the Layer panel ... right click ... Duplicate
5. Create a new layer
6. Select ... Load Selection from file ... brows your to the selection: Light
7. Flood Fill Tool: fill the selection with color: C97016.
8. Go op to Select ... Deselect
9. Go up in Filters ... Gausian blur... set Radius 65.7
10. In the Layer panel ... set the layer Blend: add ... set Opacity: 80
11. In the Layer panel ... Right-click... Merge down
12. In the Layer panel ... right click ... Duplicate
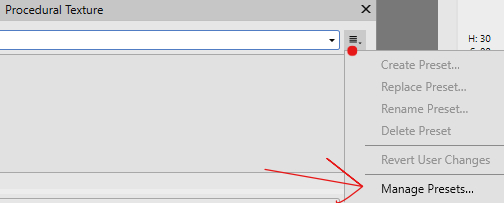
13. Go up in Filters ... Colour ... Procedural Texture: Tap the little icon ... see red dot
14. Press Manage Preset ... see red arrow below:
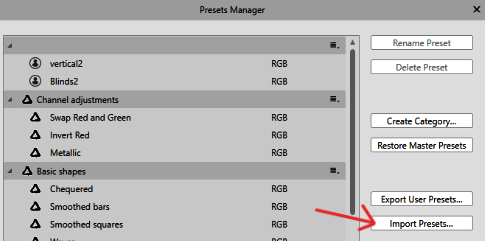
15. This is emerging ... press on Import Presets ... brows to Preset from
the material: Rehder ... press on the file and close
16. This below is still advancing... press on the little black triangle ... see red dot:

17. Choose Category: Rehder ... Blind_Vertical
18. In the Layer panel ... blend: Overlay and opacity 50
19. Go up in Edit ... Copy
20. In the Layer panel ... right click ... Merge Down
21. Go up in Edit ... paste
22. Press v on the keystroke : Arrange ... Rotate 90wise clock
23. Move Tool ... to fit the layer to the image by pushing and pulling the small boxes
24.I Layer panel ... right click ... Merge Down
25. In the Layer panel ... Right-click... Rasterise
26. Go up in Select ... Load Selection from File: Middle ... brows your to the file... press on the
27. Press Delete on your keyboard. Now it should look like this:

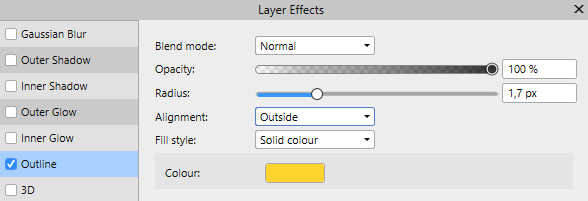
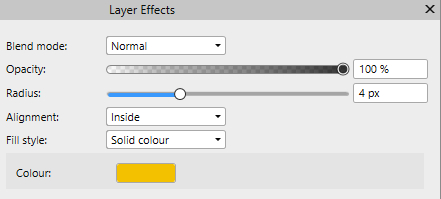
29. In the Layer panel at the bottom ... press fx. ... set check in Outline, and press ... set settings like here below:
30. In the Layer panel ... right click ... Merge Down
31. Create is new layer
32. Go up in Select ... Load Selection from File: Lines ... brows to the file... press on the
33. Flood Fill Tool: fill the selection with color: 985E35
34. Gå op in Select ... Deselect
35. In the Layer panel ... set the layer Opacity 30
36. In the Layer panel ... right click ... Merge Down
37. Open the tube: fractal11_jr... right-click the picture... Copy
38. Go back to your work picture... right click on it ... Paste
39. Move Tool: Resize the tube
40. Move the tube into place as here below:

41. Set the layer opacity: 90
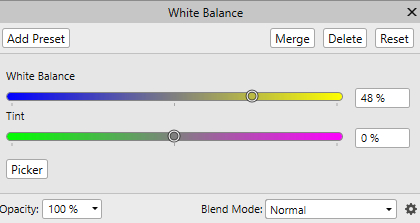
 .. settings like here below and press Merge:
43. In the Layer panel right click ... Duplicate ... Move it away from the other
44. Go up in Arrange... Rotate 90 Clockwise 2 times... put it in place in the upper left corner
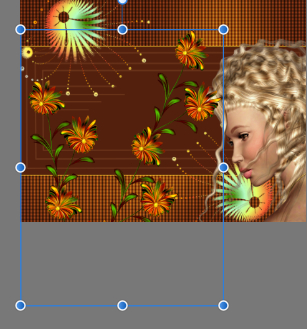
45. Open the tube: woman_fractal_jr... right-click the picture... Copy
48. Move Tool: Fit the tube to the image and move it into place as below:
49. Copy/Paste the butterfly to your Picture, in the same way as before
51.Put your name on the picture.
52. Export billedet og gem