

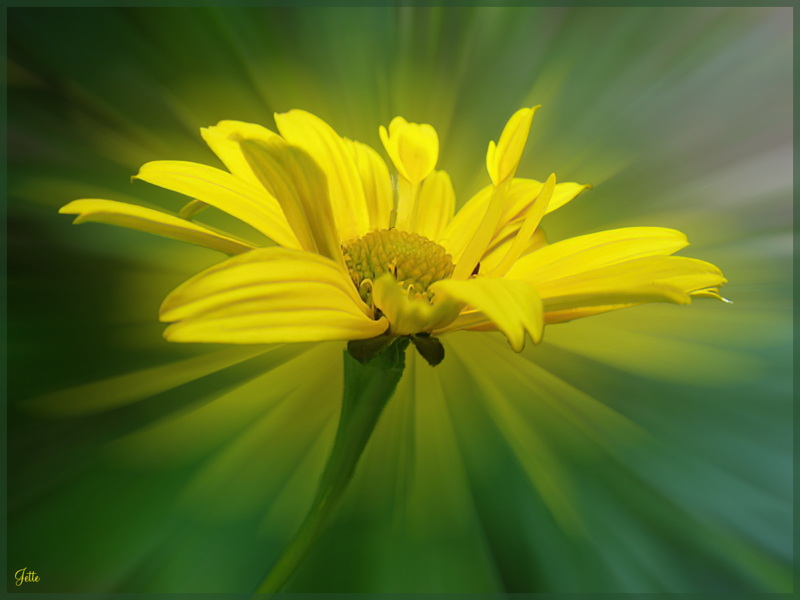
Sunflower
You can download the material here:

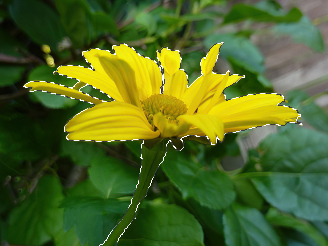
1. Open the flower image from the material
2. Layer panel: right-click on the layer ... Rasterise
3. Inpainting Tool, it is located just below the smudge. Set settings as below:
In the top of the picture ... press the white colour so they disappear


4. In the Layer panel: right-click duplicate
 Selection Brush Tool, or press on W on your keystroke
 In the Context bar above: Set settings as below:

6. Move the mouse calmly over the flower and select as here below
Set with down to 3 and press the small parts at the tip of the leaves if you want them with
7. Go up in Edit ... Copy
8. Go up in Edit ... Paste. ... the flower is now on a new layer
9. Go up in Select ... Deselect
10. Layer panel: right-click ... Duplicate
11. Eraser tool ... wipe the stem away so that only the flower head is left
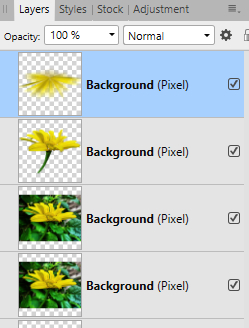
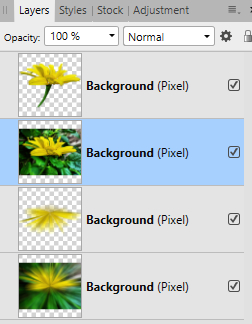
It looks like this in the Layer panel:
12. Go up in Filters ... Blur ... Zoom Blur ... set Radius to 100, and press Apply
13. Go up in Arrange ... Flip Vertica
14. Layer panel: pull the flower head down under the layer with the whole flower
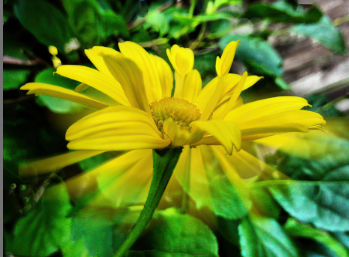
15. Move Tool: move a little down as here below
16. Layer panel: press on the bottom layer
17. Go up in Filters ... Blur ... Zoom Blur ... set Radius to 90, and press Apply
Layer panel Press No. 2 layer from below and pull it up over the flower head as below:
19. Layer panel: set the layer Opacity 50
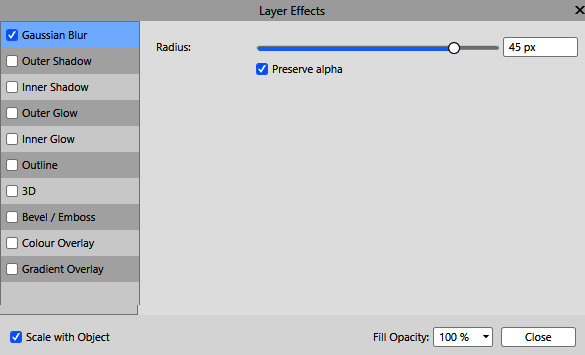
20. Layer panel: press on fx in the bottom of the layer panel
21. Put notch in Gausian blur, and notch in Preserve alpha ... Set Radius to 45
Rehders-Design
©