

Elsa

Before you begin, import the Styles category. If you don't know how to do it, you can see it on the link below.
1. Create a new Document 950x575 pixels ... tick in Transparent
2. Create a new layer
3. Flood Fill Tool: Fill the image with this color: 0D2C43
4. Shape ... Rectangel Tool: Drag a rectangle around the image
5. Go to Styles panel ... Category J.Rehder ... Press on Elsa
6. Layer panel: Right-click ... Rasterise
7. Layer panel: right-click ... Duplicate
8. Go up in Arrange ... Flip Horizontal
9. Layer panel: set layer Opacity 50
10. layer panel: right-click ... Merge Down
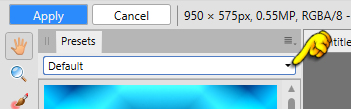
11. Go up in Tone Mapping Persona ... see yellow finger here below
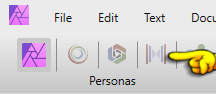
12. In what's coming up ... touch the little icon ... see the yellow finger below the text
Press Import Presets (see red finger) Browse for file: J.Rehder.aftonemap
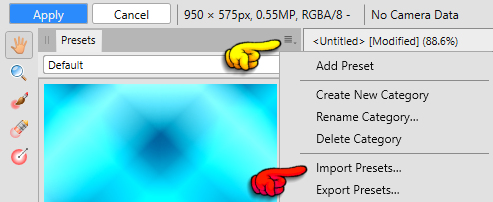
13. Press the small black triangle and all Category will appear. See yellow finger below.
Press J.Rehder, it is at the bottom
14. Settings are right ... Press Apply above
15.Layer panel ... right-click ...Duplicate
16. Layer panel ... right-click ... Rasterise
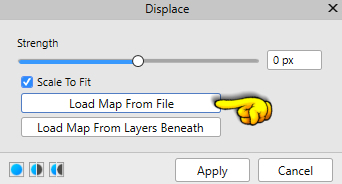
17. Go to Filters ... Distort ... Displace ... browse for file: Displace ... tap it and press open
Set strength to 255 and press Apply
18. Layer panel ... right click on the layer ... Merge Down
19. Layer panel: right-click ... Duplicate
20. Go up in Select ... Load Selection from file
21. Press Delete on your keystroke
22. Go up in Select ... Invert pixelselection
23. Go up in Filters ... Colours ... Monocrome Dithers
24. In Layer panel ... set the layer Blend: Overlay
25. Press  i n the bottom of the Layer panel.
i n the bottom of the Layer panel. Tick in 3D ... Remember tick in  ... Press Close
... Press Close 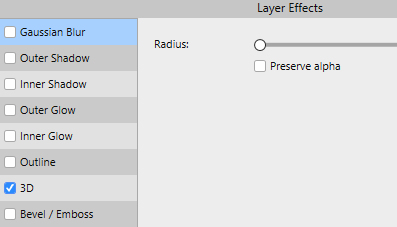
26. Go up in Select ... Deselect
27. Create a new layer ... fill layer with colour: 9DF3F5
28. Layer panel: Set layer Blend: Colour Dodge
29.Open the tube: with the mask ... right click on it ... Copy
30. Go to your working picture ... right-click on the image... Paste
31. Layer panel: right-click ... Rasterise to mask
32. Layer panel: right-click ... Merge Down
33. Layer panel: Set the layer Opacity 75
34. Layer panel ... right click ... Merge Visible
35. Open the tube: with the girl ... right click it ... Copy
36. Go to your work image ... Right-click the image ... Paste
with MoveTool ... slide the tube in from one of the corners to make it smaller
37. Layer panel: right-click ... Rasterise & trim
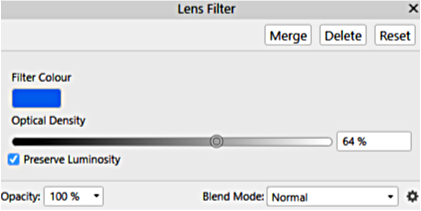
38 Go up in Layer ... New Adjustment Layer ... Lens Filter ... set settings and press Merge
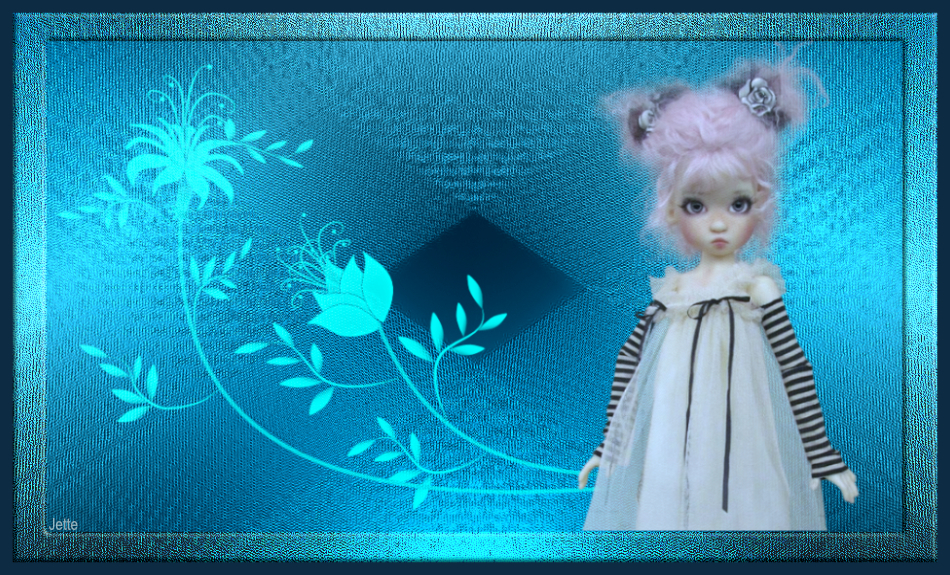
39. Put your name in the picture and save
Rehders-Design
©