
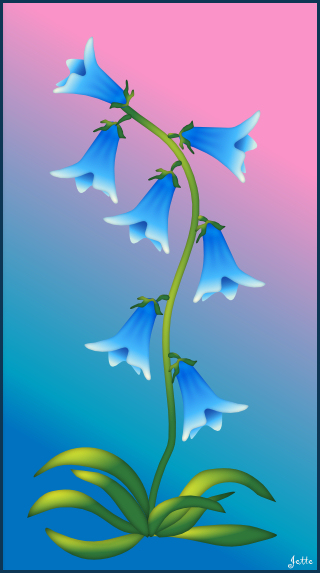
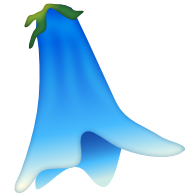
Harebell 2
You can get the Material here:

1. Create a new Document 1000 x 1000 px
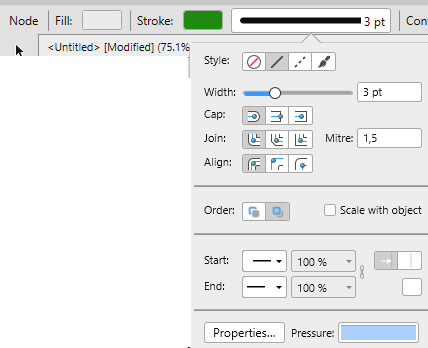
2. Press the Node Tool:  ... Settings like here below ... no colour in fill ... green in Stroke
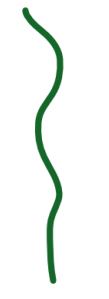
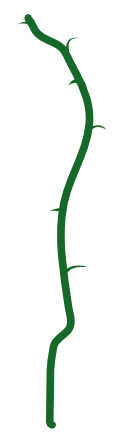
3. Press the Pencil Tool:  ... draw a flower stalk
4. Go up in layer ... Expand Stroke. The colour on the stalk is now switch
5. Stroke: Change Stroke to 2, and press in Pressure, Look at my red dot on the screen here below
Same green colour like before
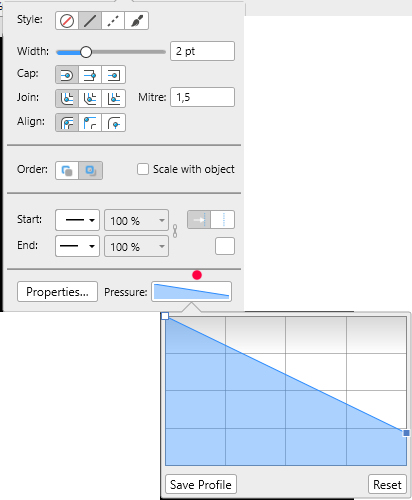
6. Double click on the small squares to move them. Drag the squares that you see here over:
7. Draw 6 small stalks
Now see my like this as here below:
8. In the Layer panel... select all layers with the stalk and side stalk
9. Go up in Layer ... Expand Stroke
10. In Layer Panel ... Select all layer ... right click ... Group
11. In the top: Geometric press first icon on the left (Add) 
It brings together all the selected layers to one layer.
Now the leaves must be made:
Stroke
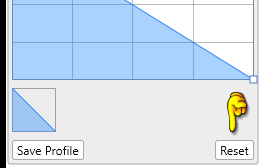
12. Set Stroke down to 1

13. Press on Pressure, and Reset 
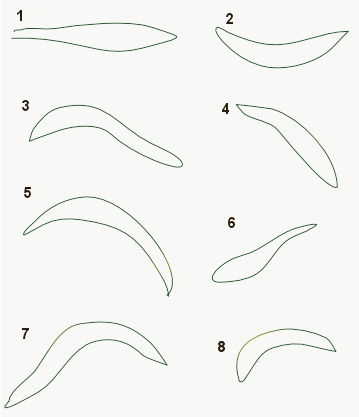
14. Pencil Tool: draw leaf 1
15. Go to gradients, Category Harebell ... Select the gradient: leave
16. Draw all the other leaves and give the same Gradient
My looks like this:

17. Select all leaved ... right click ... Group
18.Move the leaves into place at the bottom of the stalk as here below:

19. draw a flower is approx. as pictured to the left here below
20. Go to gradients, Category: Harebell ... Select the gradient: bell _1

21. Draw a part for the flower as you see on the picture to the left here below the text
Give gradient bell_2

22. In the Layer Panel, drag the layer down beneath the flower: see picture to the right here below:

23. In the Layer Panel press the layer with the flower ...
24. In Stroke: Colour: EFEFEF
:

Pressure:
25. Draw 3 lines like here below:

I have used this color: efefef
26. In the Layer Panel: select all three layer ... set the Blend Mode to Overlay
27. press the fx on the bottom of the Layer Panel
28. Check in Gausian Blur ... Radius: 1,9 ... remember check in: Save with Object
29. In the Layer Panel: drag the 3 layers down below the flower ... drop in half so they lie such as here under:

30. Draw leaf ... give gradient and set on the flower's narrow end
31. In the Layer Panel ... Select the layers in the flower and the small leaves ... right click ... Group
(the white lines follow automatically with)
32. press CTRL and J six times. Now you have seven layers .... set all flowers in place
You can rotate and move them with the Move Tool
Now you can save your picture