
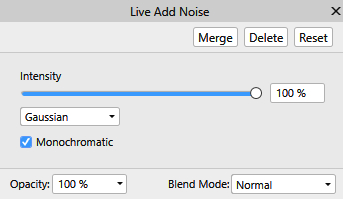
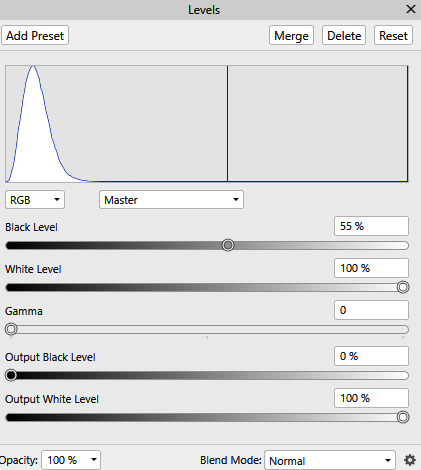
Sæt Indstillinger som her under, og tryk merge:
6. Layer panel: drag the Noise layer down under the layer with the rectangel ... drop it to the right
of the small image on the layer
Now it should look like this: If the layers are closed, then open on the small gray triangle like here:
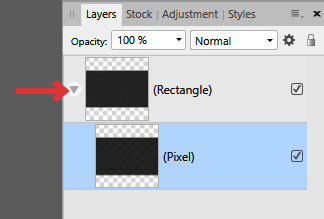
7. Pres on the layer under the Rectangel
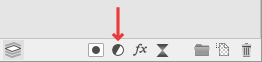
8. Layer panel in the bottom : pres on Adjustment .. in what appears: press level
9. And now you have to zoom in to 100% ... You do this with the mouse scroll, or in View above
Set Gamma to 0, and set Black Level: set Level as you thought.
The higher the number, the more stars disappear there
Close down in the cross
10. Pres on the Rectangel ... right-click ... Rasterize
11. Go op to Select ... Tonal Range ... Select Highlights
12. Leave the selection on until otherwise stated
13. Go up in Select ... Grow/Shrink ... set Radius to 2 and pres Apply
14. Go up in Select ... Feather ... set Radius to 2 and pres Apply
15. Flood Fill Tool ... Settings like here under. Remember no dheck in Cortiguous

16. Zoom in, and fill the selection with colour: 00BADA
17. Go up to Edit ... Copy
18. Go to File ... New from Clipboard
Now you can Delete the other Image
19. Go up to Select ... Deselect
20. Save as png
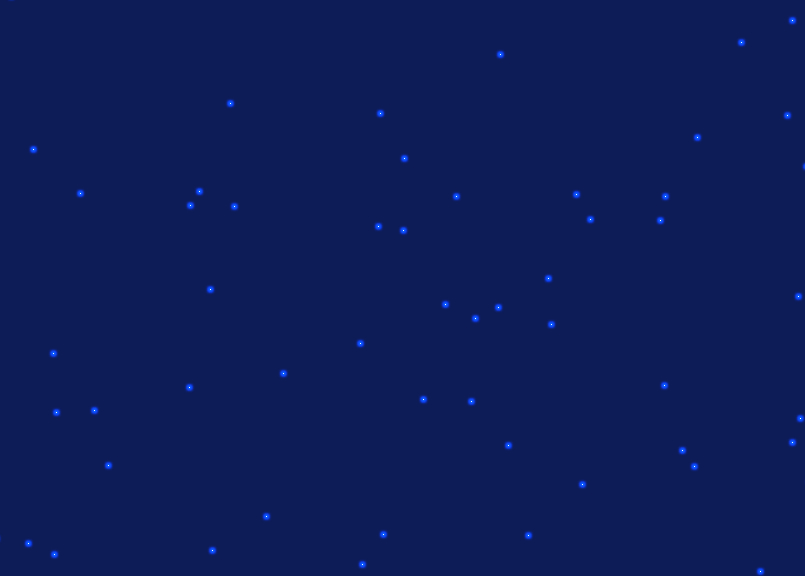
I set my stars on a blue background, and the layer Blend: Colour Dodge
Rehders-Design ©