
You can download the image of the boy on the link here below:

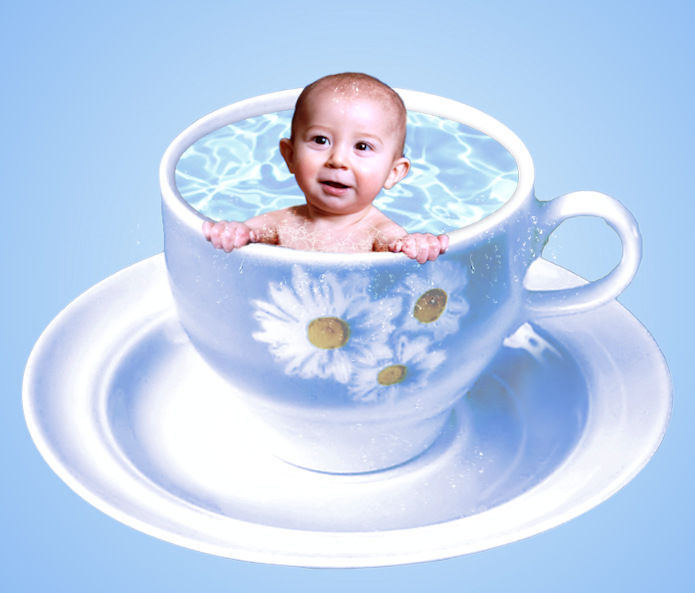
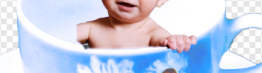
1. Open the image with the Cup ... I call it working image
2. Go up to Layer ... New Adjustment Layer ... Level Adjustment
Set options as here .. under the screen for closure by Effect
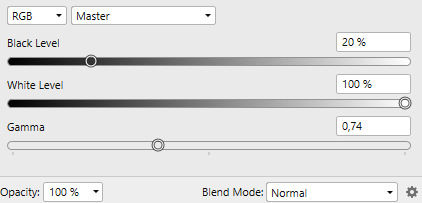
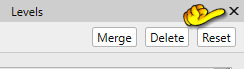
3. Close effect down at the junction located in the top right corner in the effect menu.
5. Open the tube: vand ... go up in the Edit. .. Copy
6. Go on your working image again ... go up in Edit Paste
Put the water into the Cup
7. In the Layerpanel ... right click ... Merge Down
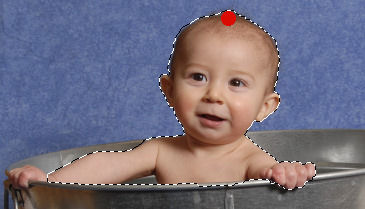
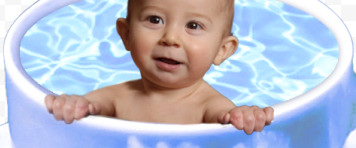
8. Open the image with the boy in the bath
9. In the Layerpanel: right click Rasterise
 ...swttings in Tool options as here under:
11. Press at the boy's head, so he will be selected. It may be necessary to press more spots
13. Go onto your working image again
15. Take MoveTool: ... thold of one of the squares in the corners and drag diagonally
toward the Center, to the boy, is the size you want for the Cup.

 set options like her under:
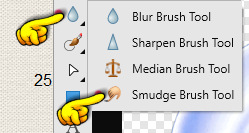
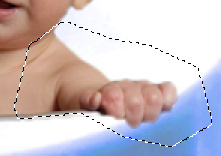
Soften with Smudge where you can see that the arm is put on by the shoulder
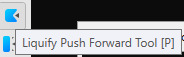
25. Go up the top left ... press at the icon that you see my red arrow 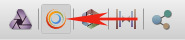
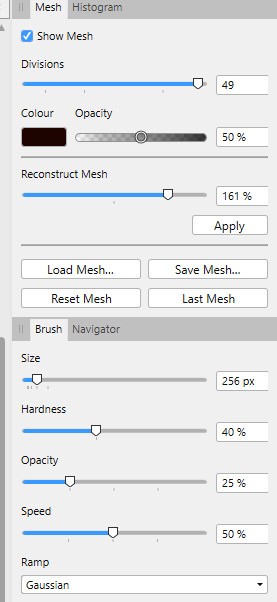
27. On the right side: put options as here below and push the shoulder down a bit
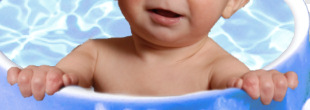
My looks now like this:
Be sure that you are standing on the layer with the boy
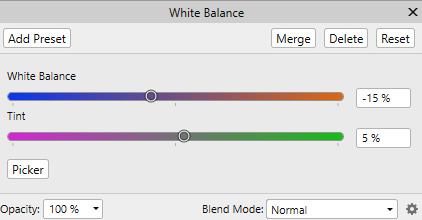
28. Go up in Layer ... New Adjustment ... White Balance Adjustment ... set options as here under:
29. Go up in Layer ... New Adjustment ... Brightness/Contrast/Adjustment
Set Brightness to 21 and Contrast to 26
30. Open tube: Skum
31. Go up in the Edit. .. Copy, and gå back on your working image
32. Go up in the Edit. .. Paste

34. In the Layerpanel: set the layer Blend: Hardlight
35. Open tube: vandperler
36. Go up to Edit. .. Copy, and go back on your working image
37. Go up in the Edit. .. Paste as new layer
38. Insert the tube into place ... may something out and Copy/Paste some of the water drops ... Move in place with MoveTool
39. In the Layerpanel: set the layer Blend : Overlay
Resize If you like.