


Background to orange flower

1. Create a new document 825 x 1043px ... It is now your work image
Import swatches palette fron materials
If you can't see the swatch panel and don't know how to import palettes then you can see it, on the link here:
2. Shapes Rectangel: Make a Rectangel around the picture
3.In the top... 
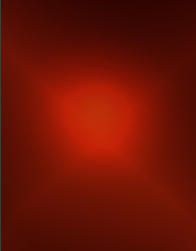
4. In the imported palette press gradient 1
5. Layerpanel: Right-click... Duplicate
6. Activate the Move Tool by pressing the
7. For the top: Mirror horizontal (see red dot here under)... Set this layer Opacity 64
8. Duplicate the layer
9. In the Imported palette... Press Gradient 2
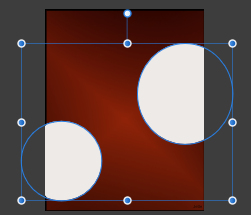
10. Take Shapes... Ellipse Tool, and make a circle approx. as you see here below:
11. In the imported palette... Press Gradient 7

12. Shapes Ellipse Tool: Make two circles as here under
13. In the Layer panel: select both layers
14. In the imported Palette... Press Gradient 6
Now it should look like the picture on the right here under:

15. Node Tool 
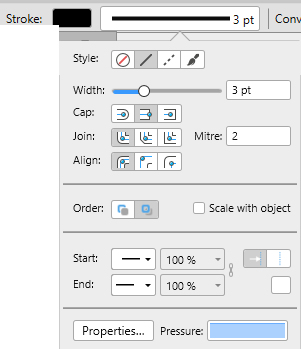
16. Stroke ... set colour: BF3C0E ... settings like here under:
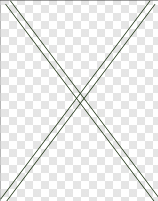
17. Pen Tool  Press in the upper left corner and in the lower right corner
Press in the upper left corner and in the lower right corner18. Double click on the last square you set to break the curve
19. In the Layer panel: Right click... Duplicate the layer and move a little:
20. In the Layer panel... Select both layers and press Move Tool
21. For the top: Mirror horizontal... press where you see my red dot. move in place with Move Tool
Now my lines look like this:
22. In the Layer panel: highlight the green lines... Go up in Layer... Expand Strokes
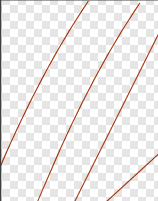
23. Draw 4 Orange lines with color: A22C02... See picture here under:
24. In the Layer panel: Select orange lines... Go up in Layer... Expand Strokes
Now the lines look like this: 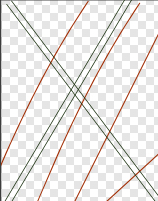
25. In the Layerpanel: Select all layers with the lines... Right-click... Group
26. In the Layerpanel: press on the group layer... Right-click... Rasterise & Trim
27. Node Tool  : In Stroke, change Width to 4.8... Make 4 strokes with black color and rotate them with MoveTool,
: In Stroke, change Width to 4.8... Make 4 strokes with black color and rotate them with MoveTool,as here under. See the picture in section 37
28. In the Layer Panel: Select the last 4 line Layer
29. Go up in Layer... Expand Stroke
30. While they are still marked: in the imported palette... Press Gradient 3

31. In the Layerpalette: Select all layers... Right-click... Group
Layer panel: Press group layer... Right-click... Rasterise & Trim
Now you have your background.
Tutorial for the flower you can find here: http://rehders-design.dk/gradientplay.html
Rehders-Design
©