

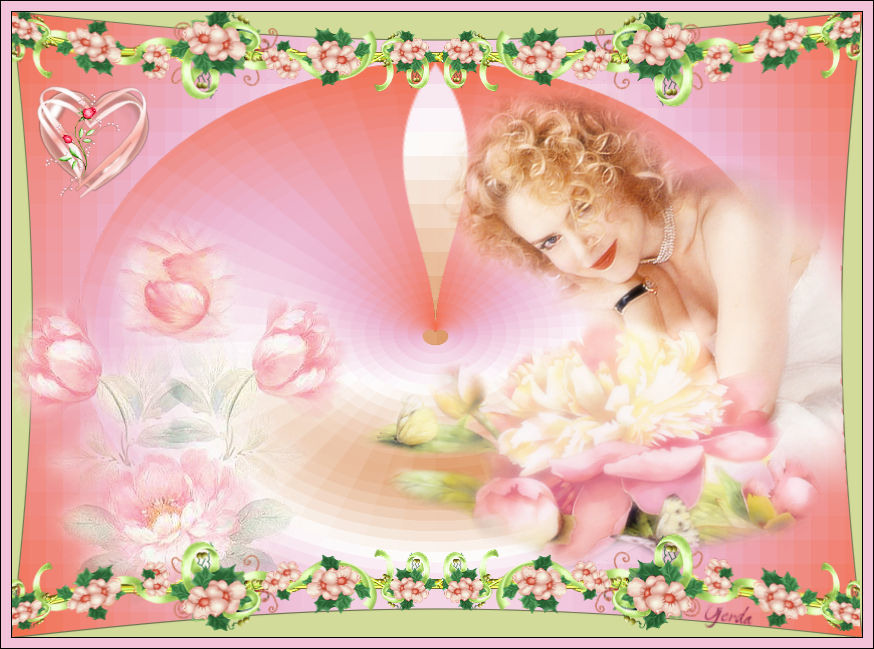
Nicole
Materialet kan hentes her: 
These files here are in the material + a Gradient
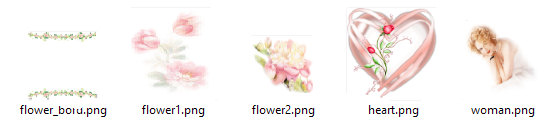
Open the tubes in Paint Shop Pro
The gradient should be in the folder: Documents \ Corel Paint Shop Pro \ 17.0 \ Gradients
1. Create a new image 850x625. This image we call your work picture, or work image
2. Choose the Flood Fill Tool ... fill the image with this color in the foreground color: #d2db99
3. Create a new layer
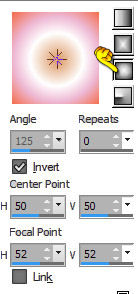
4. Go to the color palette and Gradients ... find gradient: jb-g070 ... settings like here, and press ok:
Remember check in Invert
5. Fill your image with the gradient
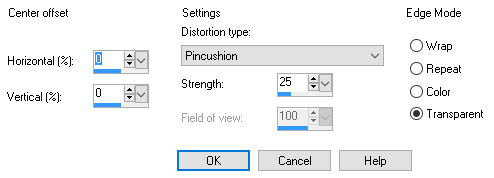
6. Go up to Effects ... Distortion Effects ... Lens Distortion ... settings like here, and press ok:
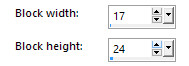
7. Go up to Effects ... Distortion Effects ... Pixelate ... settings like here, and press ok:
8. Go to Layer Palette ... Right-click the layer ... Duplicate
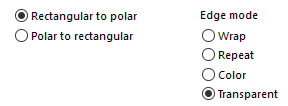
9. Go up to Effects ... Distortion Effects ... ... Polar coordinates ... settings like here, and press ok:
10. Go up in Image ... Resize 740 x 544 no check in resize all layers
11. Move it down the middle of the picture
12. Go to the layer palette press the middle layer
13. Go to Effect ... 3D Effect ... Drop Shadows. settings like here, and press ok:
Remember no check in Shadows on new layer
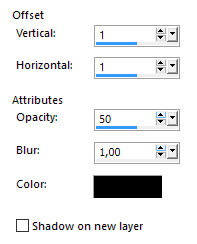
14. Go up to Drop Shadows again, but with a minus in front of the 1 are the Vertical and Horizontal
15. Go to Layer Palette ... Right-click on a layer ... Merge all
16. Open the tube with the lady ... Right click in the bar at the top of the tube ... press Copy in what appears
17. Go over your work image ... Right click in the bar at the top ... press Paste as new layer
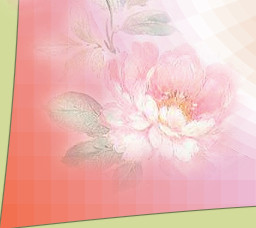
18. Take Move Tool and move the tube to the right side ... look at my finish picture
19. Go to the Layer palette, and press at the bottom layer
20. Take Magic wand set feather to 0 ... press the green on the right side of the image
21. Go up the tube layer with the lady ... press delete on the keyboard
22. Go up to Selections ... Select none
23. Put the tube flower1 on the image in the same way as in 16 and 17
24. Move it to the left side, and a little from the bottom like here:
25. Go to Layer Palette ... Right-click the layer ... Duplicate
26. Go up in Image ... Flip ... Flip horizontal (in older PSP is the Image ... Mirror)
27. Move the tube a little to the right so the bottom roses sitting on top of the other ... look at my finish picture
28. Put the tube Flower2 on the image in the same way as in 16 and 17
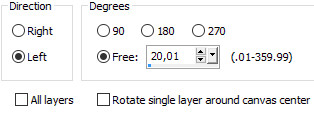
29. Go up in Image ... Free Rotate ... settings like here, and press ok:
Remember no check in all layers
30. Place the tube with the small heart on the image in the same way as in 16 and 17
Move it in place to the left
31. Put the tube with flowers table in the picture in the same way as in 16 and 17
32. Go to Layer Palette ... Right-click the layer ... Duplicate
33. Stay in the layer palette ... Set the layer blend mode: multiply
34. Stay in the layer palette ... Set the layer opacity about 65 65
35. Put your name on the picture
36. Go up in Image ... Add Borders ... color: #7b1f4a ... 1 pixel ... check in symmetric
37. Go up in Image ... add Borders 10 pixels take a pink color from the image
38. Go to Add Borders again ... color: # 7b1f4a ... 1 pixel
Rehders-Design
©