
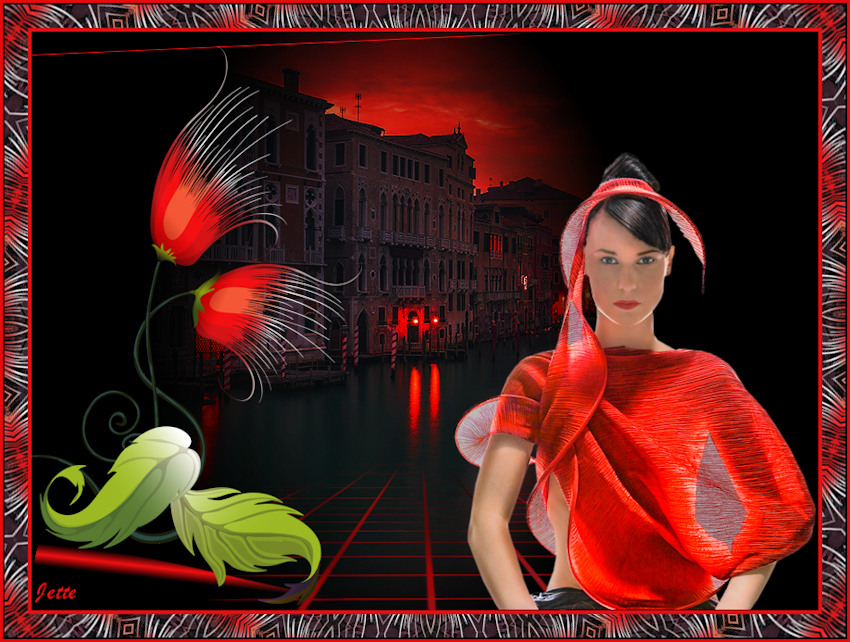
red city

 Back
Back
The material can be downloaded here: 
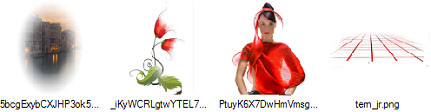
These files in the material + one presets:
Open the tubes in Paint Shop Pro
Preset to be in the folder: Documents \ Corel Paint Shop Pro \ 17.0 \ Presets
In older Psp: preset to be in the folder: Documents \ My PSP Files \ Presets
1. Create a new image 850x625 pixels
2. Remove the Flood Fill ... fill your image with black color
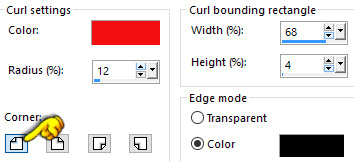
3. Go up to Effects ... Image Effects ... Page Curl ... settings like here and press ok:
4. Go to page curl again ... right these settings :
5. Open the tube 5bcgExybCXJHP3ok5JX-bPE7sck: Right click in the bar at the top of the tube ... press Copy
6. Go to your working image ... Right in the bar at the top ... press Paste as new layer
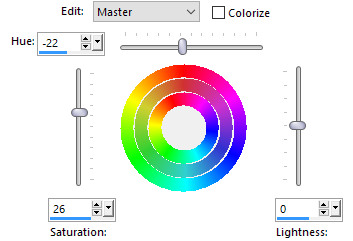
7. Go up to Adjust ... Hue and Saturation ... Hue / Saturation / Lightness ... settings like here, and press ok
Touch the little black notch at the top ... set it to default

and after, set the other settings like here and press ok:
8. Go to Layer Palette ... right click... Duplicate
9. Stay in the layer palette ... Set the layer Blend Mode to Overlay
10. Stay in the Layer Palette ... set the layer Opacity to 60
11. Open the tube tern_jr: Right click in the bar at the top of the tube ... press Copy in what appears
12. Go to your working image ... Right click in the bar at the top ... press Paste as new layer
13. Take Move Tool ... pull it slightly below the edge of the image. Look at my finished image
14. Go to Layer Palette ... set the layer Opacity to 60
15. Open the tube with the flower: Right in the bar at the top of the tube ... press Copy in what appears
16. Go to you working image ... Right Click in thr bar at the top ... Press Paste as new layer
17. Go up in Image ... resize to 500 x 368 pixels ... no check in resize all layers
18. Move the tube at the place
19. Go to Layer Palette ... right ... Duplicate
20 Stay in the layer palette ... Set the layer blend mode to Soft Light
21. Set the lady on the image in the same way as before.
22. Put your name on the picture
23. Add Borders ... notch in symmetric ... set of numbers to 4 ... use a red color from the image
24. Add Borders ... set of numbers to 25 ... black color
25. Take Magic Wand Tool and push in the black board
26. Go up to Effects ... Reflection Effects ... Kaleidoscope ... find Presets red_town
27. Go up to Selections ... Select None
28. Add Borders ... set of numbers 2 ... black color
29. Add Borders ... set of numbers 3 ... red color from the image
30. Go up in Image ... Resize 850 x 642 pixels
Rehders-Design
©