

Yellow birds
These files below are in the material + a Gradient:
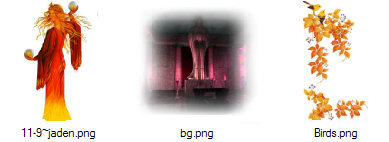
Open the tubes in Paint Shop Pro
The gradient should be in the folder: Documents \ Corel Paint Shop Pro \ 17.0 \ Gradients
1. Create a new image 850x625.
This image we call your working image
2. Go to the color palette ... Gradients ... find gradient: Snoning-jetterehder ... settings
like her, and press ok Remember check in Invert :
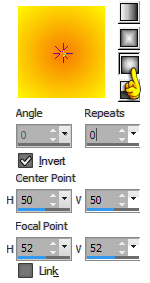
3. Fill your image with the gradient
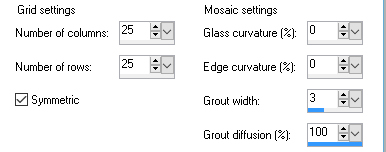
4. Go into Effect ... Texture Effects ... Mosaic Glass ... set of options
like here, and press ok
5. Go to Effects ... Edge Effects ... Enchance more
6. Open the tube Bg ... Right click in the bar at the top of the tube ... press Copy in what appears
7. Go to your working image ... Right click in the bar at the top ... press Paste as new layer
8. Move it to the top as my image
9. Go to Layer Palette ... set layer Blend Mode: Hard Light ... and the layer Opacity 85
10. Stay in the Layer Palette ... Right-click ... Merge Visible
11. place the other tubes in the same way as in 6 - 7. Look at my finished image
12. Close the bottom layer on the eye
13. Go to the Layer Palette ... Right-click at the tube layer ... Merge Visible
14. Go to Effects ... 3D Effects ... Drop Shadows ... settings like here, and press ok
the color is: # 8e3314
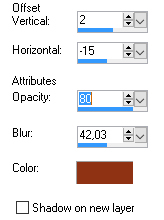
15. Go to the layer palette ... open bottom layer again, same place as you closed it
16. Put your name on the picture
17. Go up to Image ... Add Borders ... color: # 2a1600 ... set numbers to 1 ... check in symmetric
18. Go to Image ... Add Borders set numbers to 10 ... choose a red color from the lady's dress
. Go to Image ... Add Borders ... color: # 2a1600 ... set numbers to 1 ... check in symmetric
20. Go to Image ... Add Borders 25 ... black color
Rehder-Design
©
